Receipt designer
What your till prints: paper width, what appears on it, and a back side most restaurants forget they have.
Restaurant → Receipt
The designer
- The sections — paper, header, order details, items, payment, footer and the back; open one to edit it.
- The preview — a sample receipt, front and back, updating as you edit.
- Test print / Export / Save receipt.
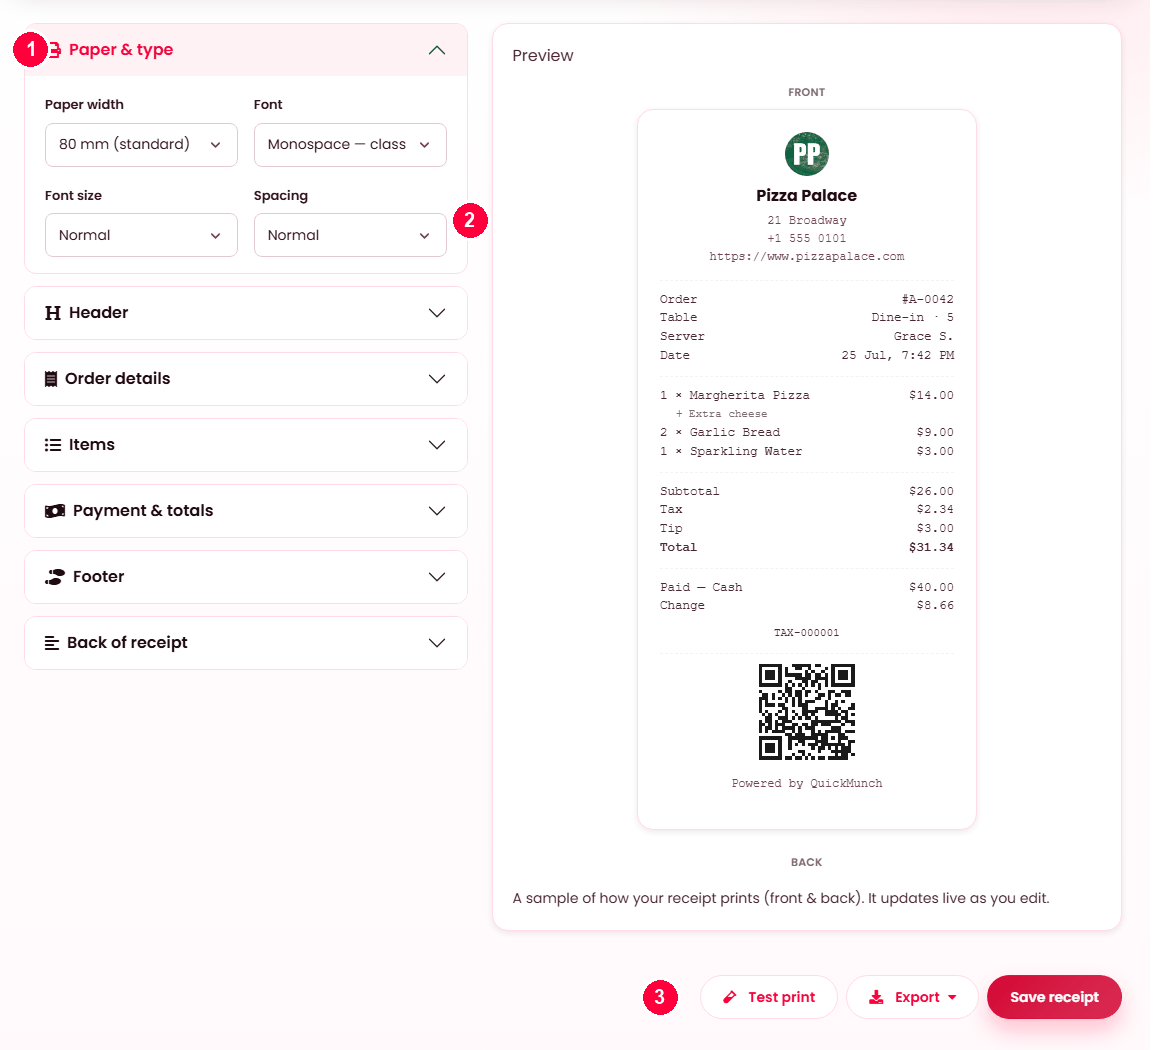
Paper & type
| Setting | Options |
|---|---|
| Paper width | 80 mm (standard) or 58 mm (narrow). Get this right first — everything else is laid out against it. |
| Font | Monospace (classic), sans-serif (modern), serif (elegant), or condensed. |
| Font size | Small, normal or large. |
| Spacing | Compact, normal or roomy. Compact saves paper; roomy is legible to more people. |
Condensed is the answer when long dish names are wrapping awkwardly on 58 mm paper.
What appears
| Section | Switches |
|---|---|
| Header | Logo, a header line ("Thank you for dining with us"), address, phone, website. |
| Order details | Order number, server name, date and time, table / service type. |
| Items | Item options and item notes — so a customer can see the dish was made as they asked. |
| Payment & totals | Payment method, tip line, change given, and your tax number. |
| Footer | A closing message, an order QR code, and the "powered by" credit. |
The back of the receipt
A second side most restaurants never use, and it costs nothing to fill: a returns policy, your social accounts, an offer for next time. "Keep this receipt for returns within 7 days. Follow us for offers." is a fair template — a receipt is one of the few things every customer takes away with them.
The preview
Front and back, updating live as you edit, drawn as a sample receipt would actually print. Print one on the real printer before service — a preview cannot show you that your 80 mm design is going to a 58 mm printer.
Where it is used
This design is used by every till receipt your point of sale prints, including the automatic print on payment if the device has it switched on — see Devices.
When it doesn't work
Text is cut off at the edge
The paper width setting does not match the printer. That is nearly always the whole problem.
The logo does not print
Some thermal printers handle images poorly. Switch the logo off and use a header line instead — it prints reliably everywhere.
Nothing prints at all
That is the device, not the design. Check the printer capability and its connection on Devices.
The back never prints
Thermal rolls are single-sided. The back side prints as a second slip, which is worth knowing before you design one.