Your first hour
The order to do things in on a fresh installation, and what can safely wait.
The platform's own checklist — it tracks what you have finished.
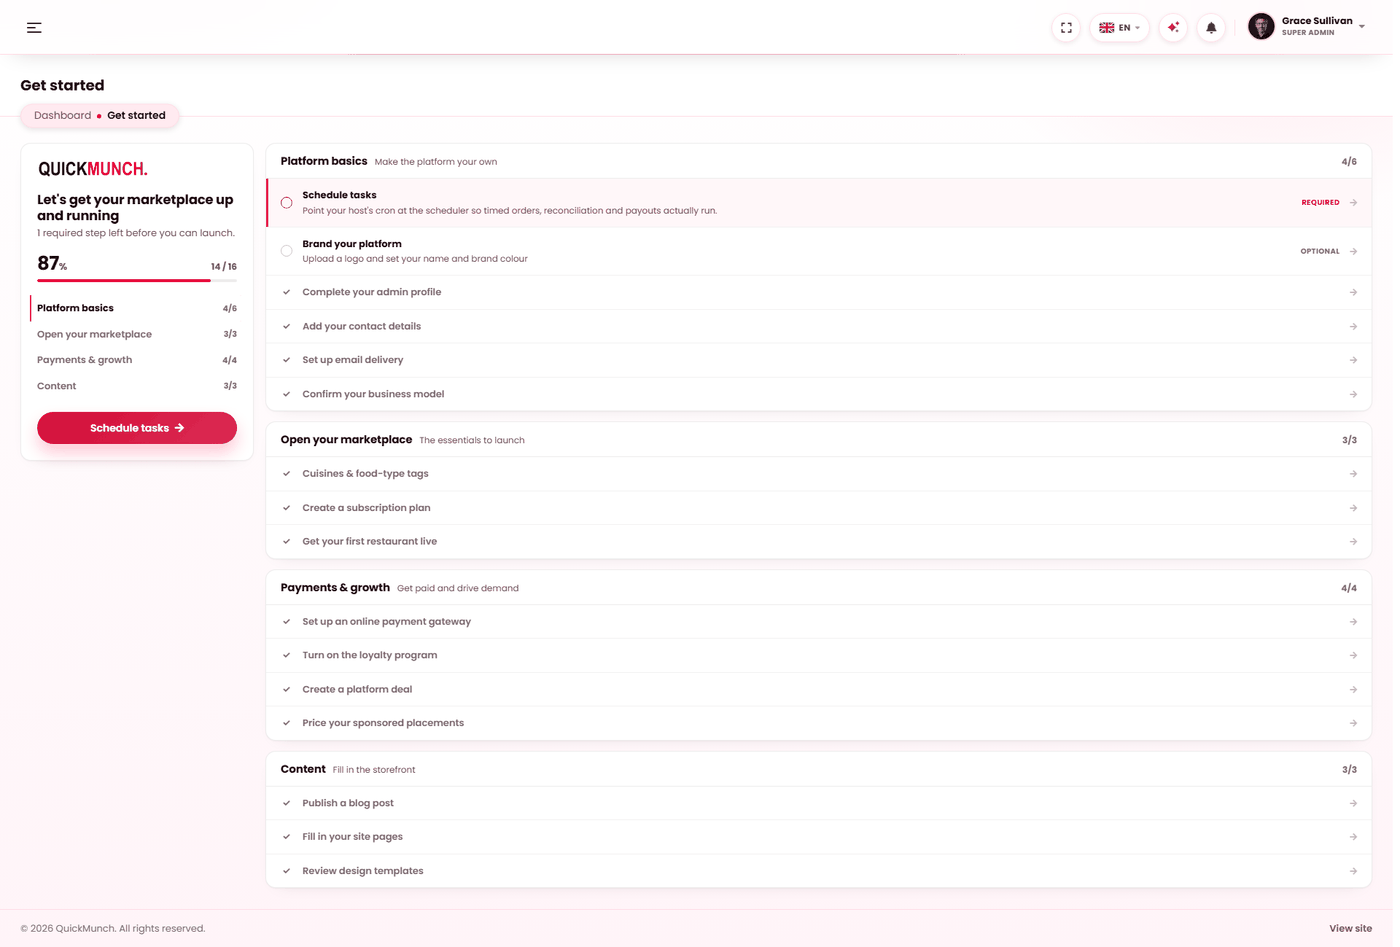
Before anyone else logs in
These four decide how everything else behaves, and two of them are awkward to change once you have live data. Do them first.
- Check the business model is the one you meant. You chose it in the installer; it is shown under Settings → Business model. Change it now if it is wrong — see Choosing a business model.
- Set currency and time zone. Under Settings → General. Every price, report and opening hour is read through them, so getting this wrong makes a whole evening's orders look like they happened at the wrong time.
- Turn off what you do not sell. Under Settings → Services. If you never do table service, switching off QR ordering and the floor plan now means your staff never see them — see Turning features on and off.
- Set up the scheduled task. One cron entry. Without it no transactional email leaves the site at all — see Scheduled tasks.
Before you take a real order
- Configure email. SMTP under Settings → Email delivery, then send yourself a test. A customer who orders and hears nothing assumes it failed.
- Choose your payment methods. Cash on delivery and offline payment work with no account at all. Add Stripe or PayPal only if you want card payments — see Payments & gateways.
- Fill in your contact details. Under Settings → Contact. These appear on the storefront and on receipts.
- Place one test order end to end. Order as a customer, watch it arrive in the restaurant's Orders screen, move it through to delivered, and check the email arrived.
What can wait
None of this blocks a first order, and all of it is easier once you have real content to look at:
- Branding — colours, logo and the look of the storefront.
- Homepage layout, pages and the blog.
- Loyalty, coupons and sponsored placement.
- SMS, AI features and the map key.
- Extra languages.
How long this actually takes
Setting up is a single sitting, not a project. The figures below are for someone doing it for the first time, reading as they go.
| When | What |
|---|---|
| First 10 minutes | Business model, currency and time zone, the service switches, and the cron entry. These four are the ones that are awkward to change later. |
| Next 20 minutes | SMTP and a test email, your payment methods, your contact details. |
| Then 10 minutes | Branding — upload your logo, set the accent colour. That is genuinely all it is. |
| Same session | Add your first restaurant and one test order end to end, so you have seen the whole loop work. |
Building a real menu is the only part that takes real time, and that is data entry rather than setup — a restaurant with sixty dishes will spend longer on photographs than on everything above put together. Import menu exists for exactly that reason.